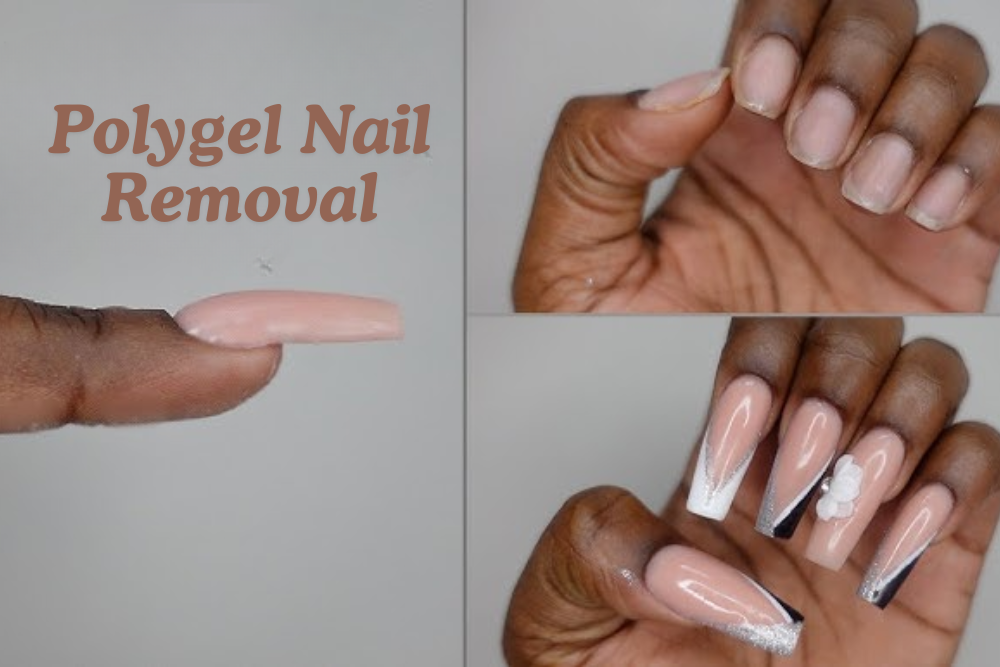
How to Remove Polygel Nails Without Damage Using Mini Sanding Bands?
There’s a reason Polygel has become a go-to nail enhancement: it combines the strength of acrylic with the flexibility and odor‑free application of hard gel. But that durability also makes removal tricky. Improper removal is the leading cause of nail damage—more harmful than acetone and more damaging than over‑filing. This step‑by‑step guide shows you how to use mini sanding bands to remove Polygel safely, leaving your natural nails healthy and strong.
Why Polygel Needs a Gentle Approach
Polygel is a hybrid product that sits between acrylic and hard gel. Unlike regular gel polish, it does not easily dissolve in acetone; instead, it requires physical reduction through filing.
Polygel itself is not inherently damaging. Problems arise from improper application or, most commonly, improper removal. When done correctly, Polygel can actually protect your natural nails and help them grow longer. The goal of removal is to preserve that protection while removing the enhancement.
The Golden Rule of Polygel Removal
Never peel, pry, or pick Polygel off your nails. Peeling removes layers of your natural nail along with the product, leading to dehydration, weakness, and months of recovery. Even if a corner lifts, that is not an invitation to pull—it is a signal to slow down.
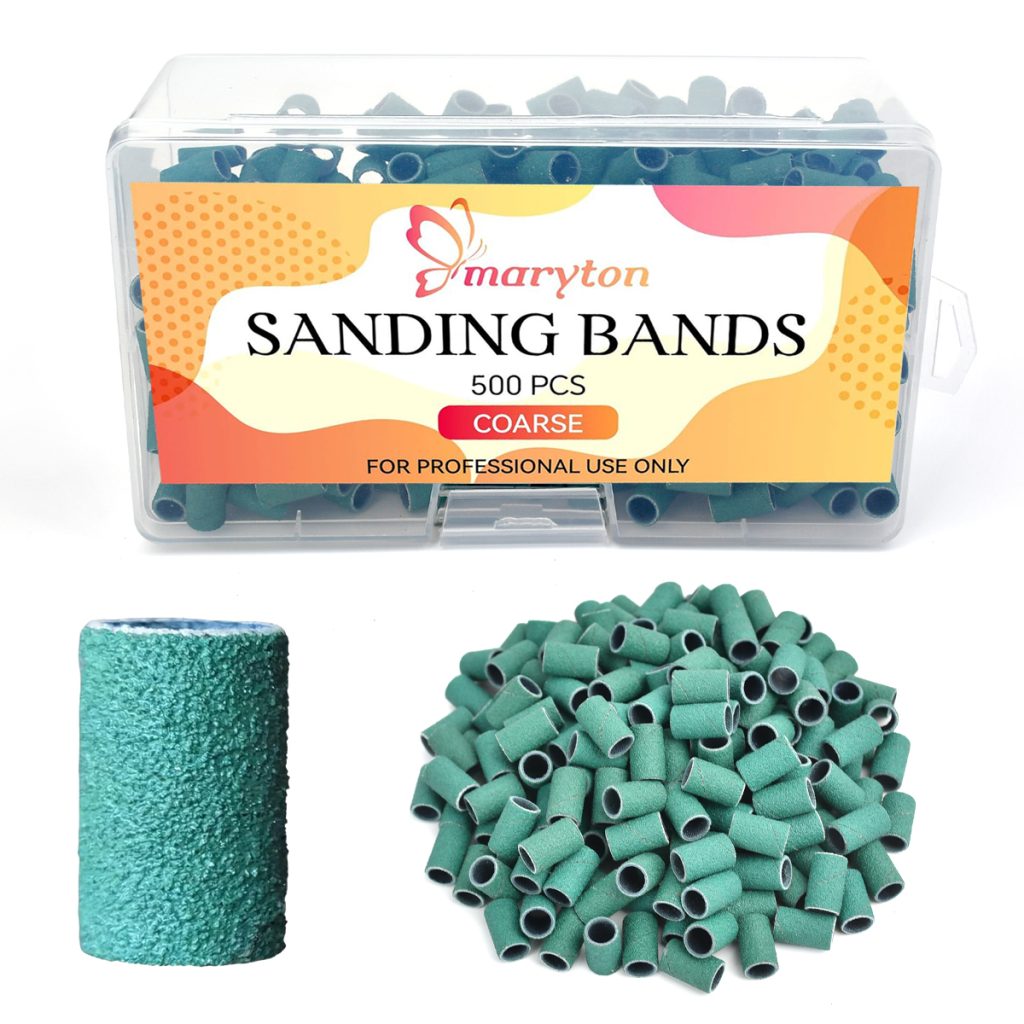
Why Mini Sanding Bands Work Best
Mini sanding bands are small, cylindrical abrasive sleeves that attach to an e‑file mandrel. They are designed for precision work on limited surface areas, making them ideal for removing Polygel without touching the skin.
The key advantage of mini sanding bands is that they mimic the motion of a handheld file while offering the speed and control of an e‑file. They generate less heat than metal carbide bits and are far more forgiving for beginners.
Step‑by‑Step Removal Using Mini Sanding Bands
What You Will Need
- Electric nail file (e‑file) with adjustable speed
- Mini sanding bands in multiple grits (fine/medium/coarse)
- 180‑grit hand file (for final smoothing)
- 100% pure acetone
- Cotton balls or pads
- Aluminum foil cut into squares
- Cuticle pusher or orange wood stick
- Cuticle oil
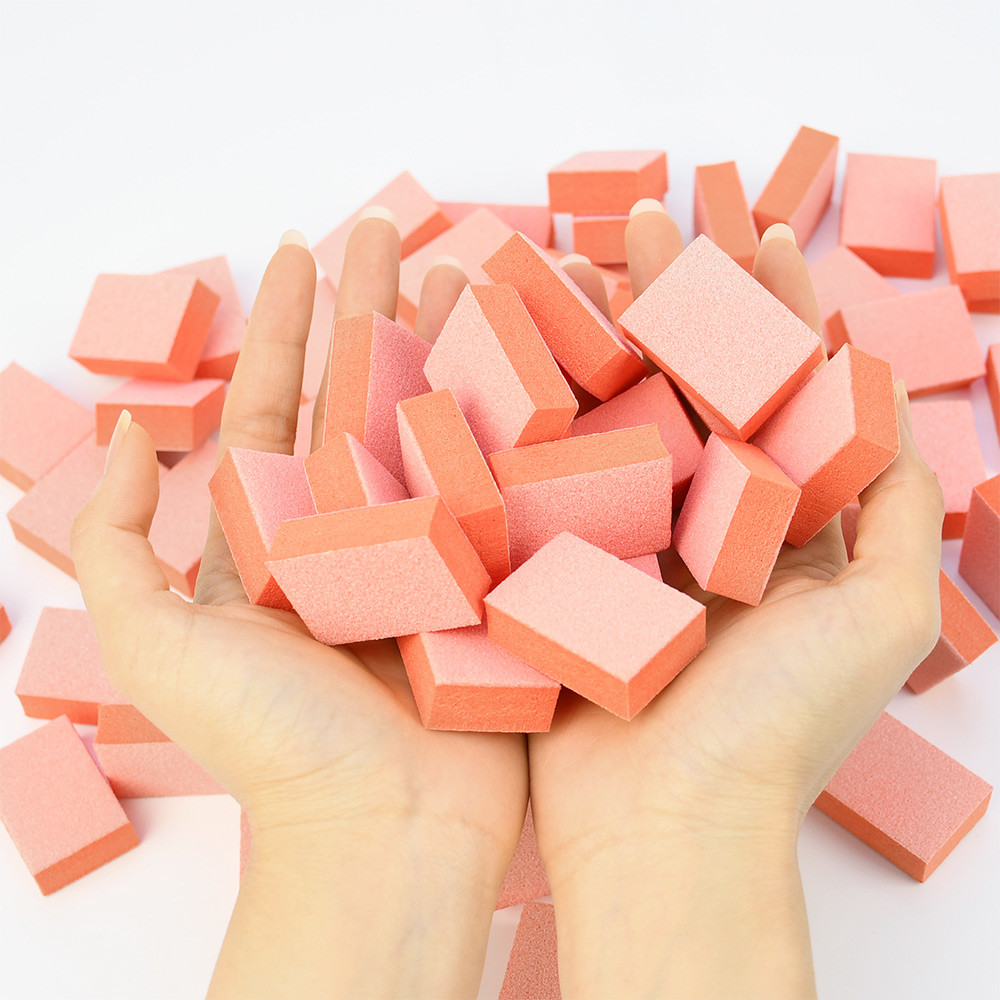
- Nail buffer
- Dust brush
Step 1: Trim Excess Length
Before filing, trim your Polygel nails down as short as possible. Use a strong nail clipper to cut just past the end of your finger. This reduces the amount of material you need to file and prevents cracking at the tips.
Step 2: Choose the Right Sanding Band Grit
Grit selection matters. Use a coarse sanding band for the initial bulk removal, then switch to medium and fine grits as you approach the natural nail.
- Coarse grit (80‑100): For quickly reducing the thickness of the Polygel. Use this only on the bulk product, not near the natural nail.
- Medium grit (150‑180): Once the Polygel is significantly reduced, switch to medium grit for controlled removal.
- Fine grit (240): For the final passes when you are close to the natural nail. Fine grit removes product slowly and reduces the risk of heat or damage.
If you are new to using an e‑file, start with a fine or medium sanding band at low speed. You can always increase grit if needed, but starting gentle prevents mistakes.
Step 3: Set the Right Speed and Pressure
For natural nail safety, keep your e‑file speed low. A range of 7,000 to 10,000 RPM is recommended for sanding bands. Apply light pressure—let the sanding band do the work. Heavy pressure creates friction, heat, and can thin the nail plate.
Step 4: File Down the Bulk Product
Hold the e‑file like a pencil and rest your pinky on the table for stability. Use a coarse or medium mini sanding band to file down the Polygel, working in one direction and keeping the bit constantly moving. Never stop in one spot for more than a second.
File until only a very thin layer of Polygel remains—about 80‑90% removed. You should still see a thin film of product covering your natural nail. Do not file down to the bare nail plate.
Pro tip: Frequently brush away dust with a dust brush so you can see your progress.
Step 5: Soak Off the Remaining Thin Layer
Unlike hard gels, Polygel does not fully dissolve in acetone. However, once the bulk product is reduced to a thin layer, the remaining residue can be softened and pushed off.
Soak cotton balls in 100% pure acetone and place one on each nail. Wrap tightly with aluminum foil and wait 15‑20 minutes. The acetone will soften the remaining thin layer of Polygel, making it easy to remove.
Step 6: Gently Push Off the Softened Product
After soaking, unwrap one nail. Using a cuticle pusher or orange wood stick, gently push the softened Polygel from the cuticle area toward the free edge. If the product resists, rewrap and wait another 5‑10 minutes. Never scrape or force—if it does not come off easily, soak longer.
Step 7: Smooth and Hydrate
Once all product is removed, use a fine sanding band (240 grit) or a buffer block to lightly smooth the surface of your natural nails. Remove any remaining residue without thinning the nail plate.
Then apply cuticle oil generously to each nail and massage in. Acetone is very drying, so this step is essential for restoring moisture and preventing brittleness.
Common Mistakes to Avoid
Using coarse grit on natural nails. Coarse sanding bands are for product removal only. Switch to fine or medium grit once you approach the natural nail plate.
Applying too much pressure. Let the e‑file do the work. Pushing down creates friction, heat, and can permanently thin your natural nails.
Stopping in one spot. Keep the sanding band moving constantly. Hovering in one area creates heat spikes that can burn the nail bed.
Peeling off lifted edges. If you see a lifted corner, resist the urge to pull. Rewrap and soak instead. Peeling is the #1 cause of nail damage.
Skipping cuticle oil after removal. Acetone and filing both dehydrate the nail plate. Oil immediately after removal and continue applying daily for the next week.
When to Consider a Full Soak‑Off
Some Polygel brands are formulated to be completely soak‑off. Check the product label—if it says “soak off,” you can use an extended acetone soak instead of filing. However, the filing‑then‑soak method described here works for all Polygel types and is gentler on natural nails.
The Bottom Line
Removing Polygel with mini sanding bands is a safe, effective process when done with patience and the right technique. The key steps are:
1. Trim excess length.
2. Use coarse then medium grit sanding bands at low speed.
3. Leave a thin layer of product before soaking.
4. Gently push off softened product—never scrape.
5. Hydrate with cuticle oil immediately after removal.
Proper removal protects your natural nail plate and keeps your nails healthy for your next Polygel application. Take your time, use light pressure, and your nails will thank you.
Read also: The Simple Joy of a Perfect Foot Bath