The Timeless Classic: A Guide to the Baby Boomer Manicure
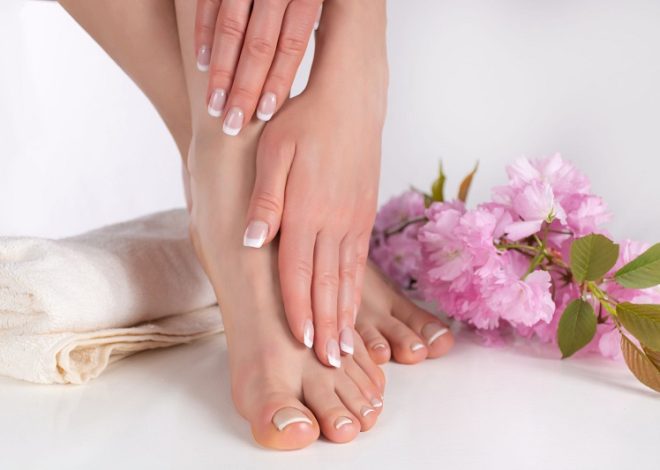
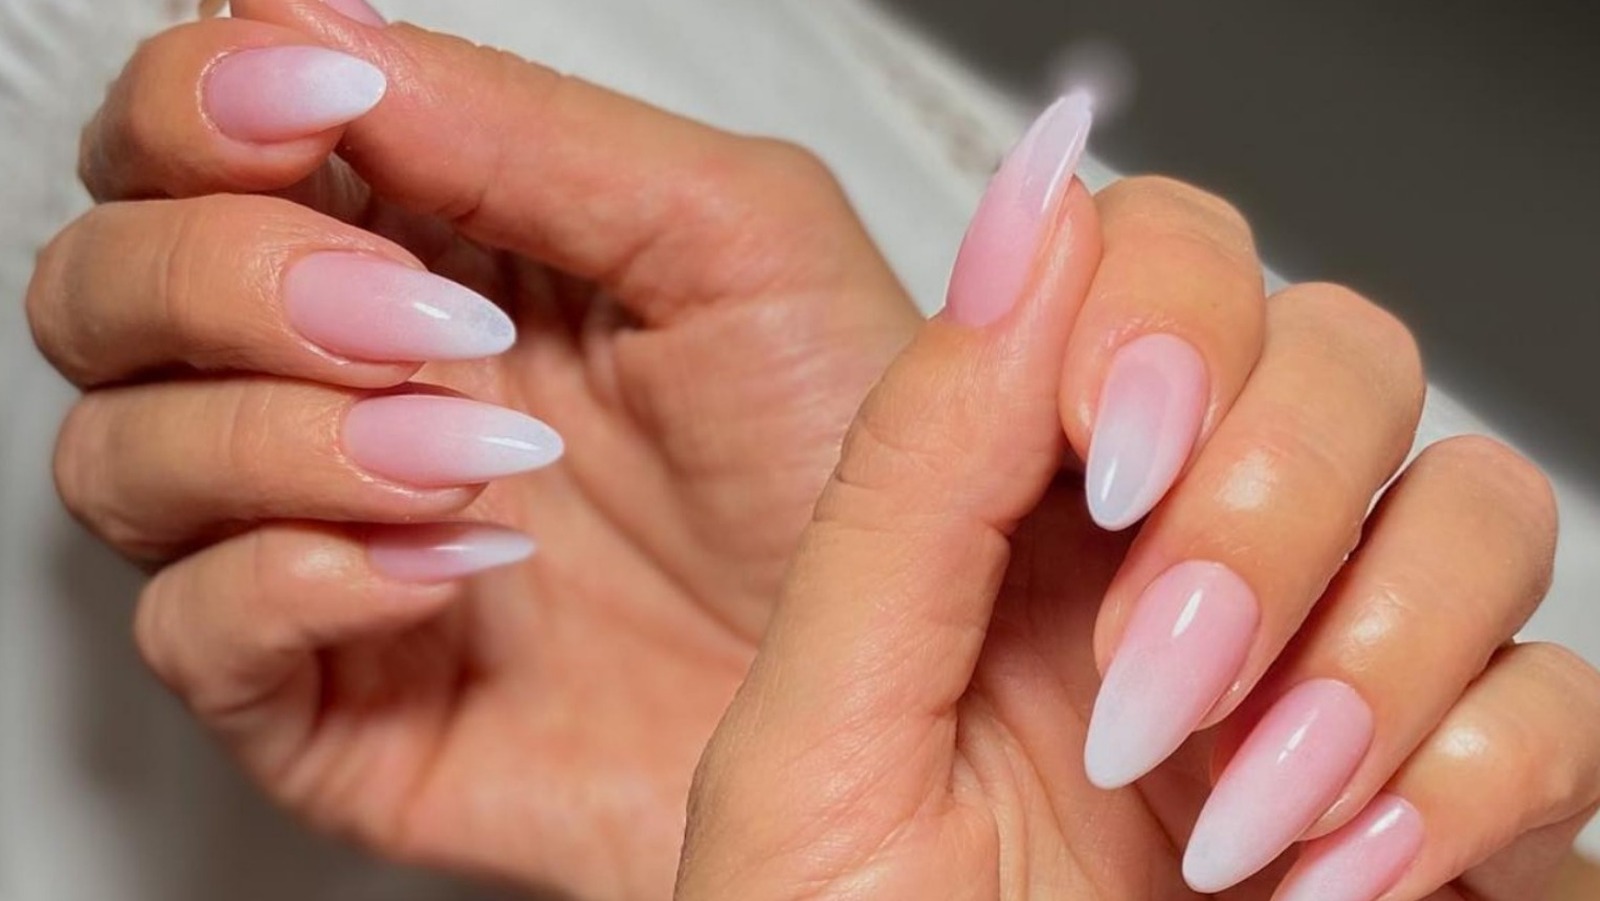
In the ever-changing world of nail art, some trends come and go. But a true classic, like the little black dress or a perfect red lip, never truly fades away. The Baby Boomer manicure is one such timeless gem. You might not know it by name, but you’ve definitely seen it—a soft, natural-looking gradient on the nails that flows from a sheer, milky pink at the cuticle to a soft, opaque white at the free edge.
Also known as a “French Fade” or “Ombré French,” this style originated in the 1980s and has made a major comeback for its elegant, clean, and sophisticated look. It’s perfect for anyone who wants their nails to look polished and “done” without being flashy. The best part? It’s easier to achieve than you might think. Let’s walk through the steps to create the perfect Baby Boomer manicure.
The Toolkit: What You’ll Need
Before we begin, gathering the right tools is essential for a flawless finish. Whether you’re a DIY enthusiast or a professional, you’ll need:
- Base Coat: A good, sticky base coat is non-negotiable. It protects your natural nail and helps the polish adhere better.
- Sheer Pink Polish: This is the star of the show. Look for a jelly or very sheer pink polish, not a solid one.
- Sheer White or Beige Polish: You’ll need a sheer, milky white or a soft beige to create the gradient effect.
- Top Coat: A high-gloss, quick-drying top coat will seal in your design and add incredible shine.
- A Makeup Sponge: A standard, wedge-shaped makeup sponge is the secret weapon for creating the seamless gradient.
- Manicure Supplies: This includes a nail file, buffer, and cuticle pusher.
- A Small Brush & Nail Polish Remover: This is for clean-up, to wipe away any polish that gets on your skin.
Step 1: The Foundation – Prepping Your Nails
A beautiful manicure starts with a clean canvas. First, shape your nails with a file. The Baby Boomer look is most classic on a soft square or oval shape. Next, gently push back your cuticles. Then, lightly buff the surface of your nail to remove any shine and ridges; this helps the polish grip better. Finally, wipe each nail with a cotton pad soaked in rubbing alcohol. This step removes all traces of oil and dust, ensuring your base coat has a perfect surface to bond with.
Step 2: The Anchor – Applying the Base Coat
Apply a thin, even layer of base coat to every nail. Make sure to seal the free edge (the tip of your nail) to prevent chipping. Allow this to dry completely. A sticky base is the anchor that will hold your beautiful gradient in place for days.

Step 3: The Art of the Gradient – Choosing and Applying Color
This is where the magic happens. The classic Baby Boomer look uses a sheer pink and a sheer white. However, modern twists use nudes, peaches, or even soft greys.
The Sponging Technique:
- Paint two parallel stripes directly onto your makeup sponge. Paint a stripe of your sheer pink near the top (where your cuticle would be) and a stripe of your sheer white just below it. They should be touching.
- Gently press the sponge onto your nail. You want the pink part of the sponge to hit your cuticle area and the white part to hit the tip. Don’t press too hard, or the sponge will absorb too much polish. You might need to dab a few times to build up the color.
- Pro Tip: For a more blended look, you can add a third, “transition” color—a mix of the pink and white—on the sponge between them.
- Repeat this process on all your nails. Don’t worry if it looks a little messy or faint after the first coat; this is normal. Let the first sponged layer dry for a minute or two, then apply a second coat using the same technique. Two to three coats will build up a beautiful, opaque gradient.
Step 4: The Finishing Touch – Applying the Top Coat
Once your gradient is completely dry to the touch, it’s time for the top coat. This step is a game-changer. It not only protects your design but also melts the tiny dots from the sponging process into a perfectly smooth, glossy surface. Apply a generous, but not too thick, layer of top coat, making sure to cap the free edge. A good top coat will make your manicure look like it was done by a professional.
Step 5: Making it Last – Aftercare and Maintenance
A beautiful manicure deserves to last. Here’s how to keep your Baby Boomer nails looking fresh:
- Moisturize: Apply cuticle oil or hand cream daily. This keeps your nails and the skin around them hydrated, which prevents the polish from lifting.
- Glove Up: Wear gloves when doing dishes, cleaning, or any task that involves chemicals or prolonged water exposure.
- Reapply Top Coat: Every 2-3 days, add a fresh layer of top coat. This replenishes the shine and adds an extra layer of protection against chips.
- Be Gentle: Use the pads of your fingers instead of your nails for tasks like typing or opening cans.
The Baby Boomer manicure is more than just a style; it’s a statement of understated elegance. It’s versatile, flattering on every skin tone and nail length, and a testament to the idea that true beauty is often soft, subtle, and timeless. So, grab your tools and give this classic look a try—you might just find your new signature style.
Read also: What equipment is needed for home podiatry?
Related Posts